
An exhaust fan is an important appliance that allows you to save both money and energy. It offers ventilation and prevents excess moisture accumulation, especially in kitchens and bathrooms. If the moisture is left to build up, it will eventually damage cabinets and ceilings as well as amass indoor airborne pollutants, which will affect you and your family’s well-being. If you’re planning to do an exhaust fans installation, there are three types of exhaust fans you should consider, that is, attic, window and bathroom exhaust fans.
Properly installation of Exhaust Fans
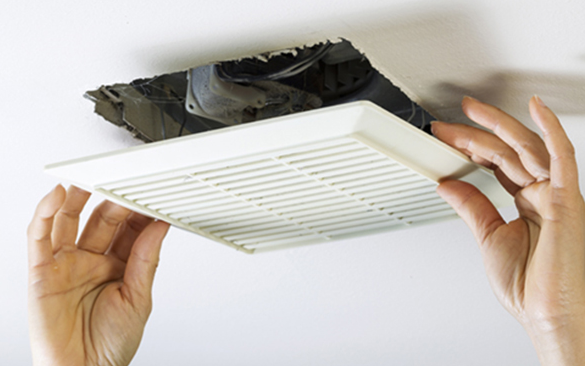
An exhaust fan requires being properly installed so that it can function efficiently. For instance, installing a bathroom exhaust fan usually takes a few hours to have the job completed. While doing the installation process, you ought to unplug the power from the circuit before beginning your work. Lock the circuit to ensure no one accidentally turns it on during installation. Then, remove any insulation on the ceiling where you want to set up your unit. And in case you wish to change a light fixture with a fan system, detach the old fixture and cut off any electrical connection.
It’s better to position the vent housing in the position that will allow you to secure it straight to the ceiling beam. However, if the arrangement of the original light fixture makes that impossible, you can deploy wooden braces between joists or beams to ensure firm connection for the housing. The hold the housing tightly and mark around the perimeter defining your cut. Create punctures at the corners. Cut along the lines then fix tightly the fan housing in position.
Extend a cable
Extend a cable from the available light knob all the way to your unit. You can use a cable of three wires if you want to split your light switch and your exhaust fan. Strictly, ensure you’re following the wiring diagram existing in the manual to avoid creating a power shortage in your home.
Connect the group wire
Connect the group wire to the clip in on the housing and press on the wires within the wiring box section and lastly put the cover. From your fan housing, attach the duct. Next, put in the cover of the fan in the bathroom, and from the available electrical circuit at the wall switch, wire the cable.
It’s usually easy to install an exhaust fan. Mostly, these units come with manuals upon the purchase to help you during the installation. However, you must take safety seriously. If you’re finding it challenging doing it on your own, get in touch with a reliable exhaust fans installation professional to help you.